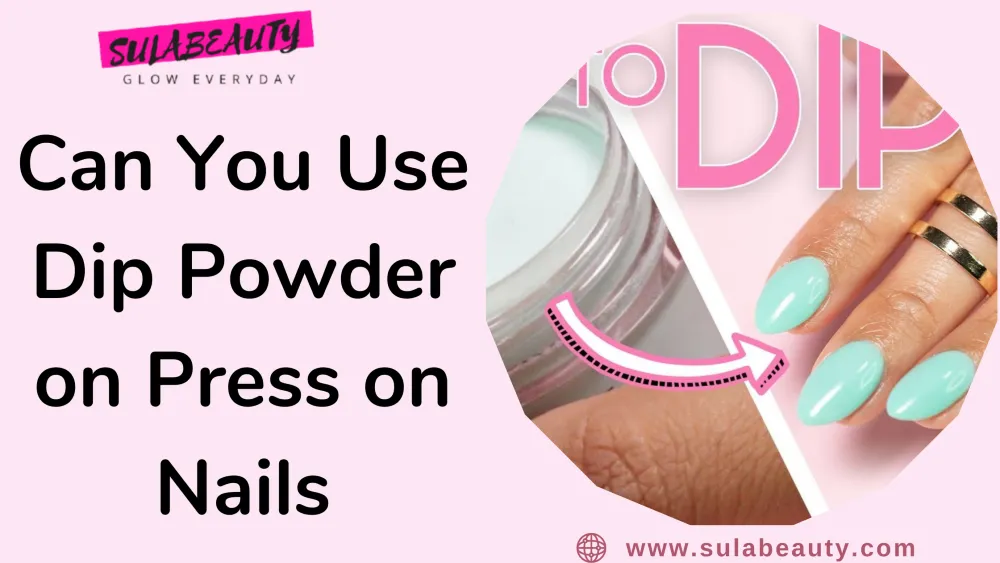
If you have a fetish for manicures, you must have heard of the Dip Powder trend. It is one easy way of getting highly pigmented color, other than acrylics or gels. But can you use them on your Press-on nails? The answer is yes.
Dip Powder can be used on Press-on nails as your natural nails. You can get them done by salon technicians or at the convenience of your home using at-home kits, whichever suits you better.
The press-on application procedure remains the same. Instead of applying gel polishes, you directly use Dip Powder. Unlike gel nails, Dip Powder manicures are more durable as they can last for at least three weeks.
However, gel nails stay for 1-2 weeks. Also, dip nails can be simply applied, whereas gel nails require UV light for curing.
This article will share more details on using Dip Powder on Press-on nails. So, let’s dive in without any further ado.
Can You Use Dip Powder on Press on Nails?
You may use Dip powder on Press-on nails as easily as on your natural nails. The procedure is quite simple. However, it requires a lot of time and patience.
If you wish to get more clarity on the procedure involved, you may want to get a salon experience before you try it at home. However, if you have ample time to dedicate, you may try doing it yourself.
How to Use Dip Powder on Press on Nails?
You may apply Dip powder on Press-on nails by visiting a salon or doing it yourself at home. But regardless of these, the procedure requires utmost care and patience.
We have enlisted a few basic yet crucial steps involved in the procedure:
- Prep your nails – Like any other manicure session, you must prep your nails before you start applying the Dip powder. To begin with, wash your hands with soapy water, and clean them with cotton balls soaked in rubbing alcohol. If you don’t prep them, your press-on nails may start hurting.
This will help eliminate all the dirt and oils on your nail surface. Once done, push your cuticles back with the help of a cuticle pusher, trim them as per your requirement and buff them.
- Apply Press-on nails – Once the nail plates are prepped well, apply the bonder on the tip of your nails and the bottom of your press-on.
Now place the false nail gently over your nail and press it for 40-60 seconds. Repeat the same for all the fingers.
It is suggested to apply it to one nail at a time so the nails can adhere firmly.
- Apply base coat and dip powder – Again, this step is recommended to go by one nail at a time so that the powder can adhere firmly before the base coat dries out.
Applying the base coat to a nail, then dip it in the powder-filled tray. This way, the powder gets to adhere to the nail. Repeat the same on all the nails. Any excess powder must be removed with the help of a brush.
Repeat the step and dip the nails once again if the desired color is not attained with one layer. And apply a layer of activator or sealant to lock the powder on the nails.
- Layer with a top coat – The last step is to give a finishing touch and to protect the layers or dip powder applied. Allow your nails at least 4-5 minutes to dry out, and then shape them to get the desired shape and smooth edges using a nail file.
Now, apply a layer of top coat to make the Dip nails last longer and get a smoother finish.
Conclusion
Dip powder manicures can be a perfect go-to option if you want a manicure to last at least 3-4 weeks. Getting the dip manicure done from salons may range from $30 to $50, depending upon factors like the location, brand, etc.
However, if you wish to do it at home, the dip powder kits are available for $20 to $60. The range varies from basic to ones with more color variations, so you may try as per your suitability.
Also, the powder does not harm your nails and is entirely safe for use. So, go ahead and try it for yourself!