Last Updated on August 26, 2022 by SulaBeauty Staff
Acrylic nails look all beautiful and pretty from the outside, but if you have gone for this manicure before, you might be very well aware that from the inside and underneath them, they can carry a lot of germs and dirt.
The chances of gathering dirt are higher in the case of long acrylic nails. Your nail technician cleans this disgusting dirt when you go for fills every two to three weeks.
However, no one would like the dirt to stay for so long as it’s not only unhygienic but also can cause many bacteria and infections.
So don’t worry; here, you will learn everything about how to clean underneath acrylic nails. To learn how to clean under acrylic nails in detail, continue reading further.
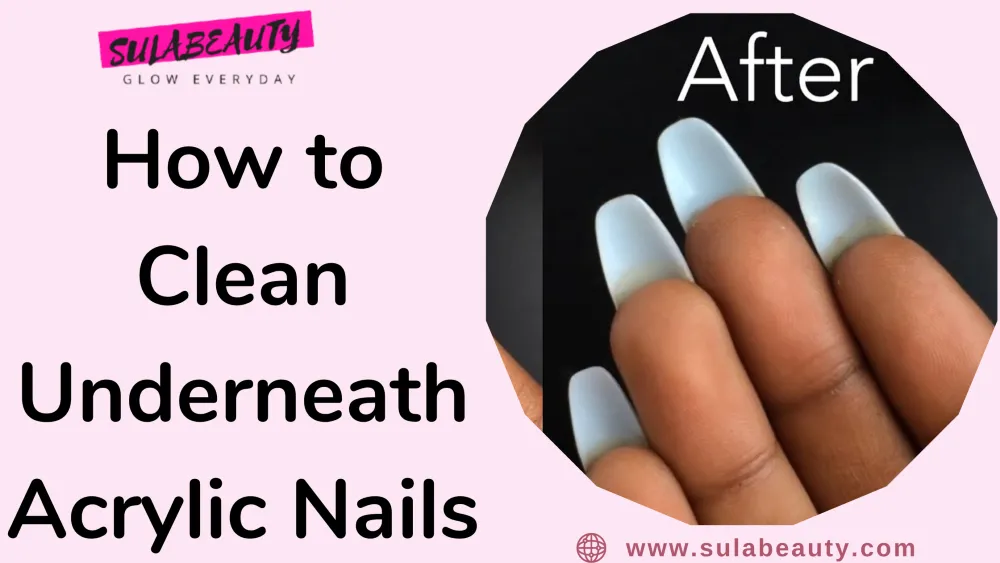
How to Clean Under Acrylic Nails?
You will be surprised to know that keeping your acrylic nails clean is super easy. You will require the following ingredients for it:
- A toothbrush or a nail brush
- A good antibacterial soap
- A pusher or rubbing alcohol
That’s all, just these three to four products and you will be sorted. You will need to follow the steps below, and your work will be done. Before you learn how to apply acrylic nails, you need to know more about how to keep your acrylic nails clean:
Removing Dirt from Nails:
Clean your hands with lukewarm water and an antibacterial soap:
Every time you go to the washroom, get in contact with any animal and hold any filthy objects, especially before and after cooking and cleaning; wash your hands with an antibacterial soap.
Expect for all these mandatory activities, try to get in contact with water as little as possible. Too much contact with water can weaken your acrylic nails.
Don’t forget to dry your nails properly:
If your nails don’t dry out properly, they can cause fungus or infections underneath your acrylics. Water might also separate your nails from the nail bed, which is another reason for infections.
It is crucial to scrub under the nails:
Gently move a soft-bristled nail brush soaked in soapy warm water front and back under your acrylic nails to remove all the accumulated dirt. Make sure not to be harsh; just sweep gently in a slow brushing motion rather than pressing.
If you are not gentle, then your nail glue might get weak.
Use a cuticle pusher to scrape out all the dirt:
Before you go to clean the next nail, take a paper towel to rub the previous dirt off. Be gentle and avoid unnecessary pressure; reach only those accessible areas while cleaning to avoid breakage.
Make sure not to stick your cuticle pusher underneath between your skin and nail.
Dip your nails in rubbing alcohol before you replace a nail that has fallen:
At least for 15 seconds, soak your nails in a bowl of rubbing alcohol to eliminate any chances of bacteria or fungus. Rubbing alcohol is great for killing all bacteria and fungus. Before you stick the acrylic nail back on properly, dry out your natural nail first.
Eliminating Fungus on Nails:
Detach your acrylic nail from the finger:
You cannot treat your fungus with your attached acrylic finger. So, remove your acrylic nails to treat your fungus, and apply your new nails.
You can easily peel your acrylic nails by dipping your nails in warm water for 10 to 15 minutes. This will loosen them, so now you can remove them easily.
Get rid of any remaining glue:
The fungus can be present even in the leftover glue. So use a wet sponge to clean any leftover glue. Lightly rub the sponge all around the nail to clean the glue.
If the glue is not coming out, you can even polish the nail top with the help of a nail brush.
Take half an hour of vinegar nail soak:
Keep soaking your fingernails for up to a week for 30 minutes every day. You can either go for white vinegar or apple cider vinegar, which both effectively kill bacteria underneath.
The only thing to ensure is to dip just your nails, not your entire hands, as it may dry out your skin.
Mouth wash nail soak is another good option:
In the place of vinegar, you can even use mouth wash. The alcohol present in the much wash help to kill the bacterias and fungus. Remove your fingers from the mouth wash in case they begin to sting.
Use olive oil and tea tree mixture:
Mix these two oils in equal quantities and apply this to the affected area twice a day until the infection disappears.
Consult a doctor:
If the infection is still there after one week of all these home remedies, then it is time to visit your doctor. Your doctor will prescribe you a pill or an ointment to kill the fungus. It would be best if you visited your doctor in the following cases as well:
- Swelling
- If the natural nails have broken
- Itching underneath or around the nail area
- Red skin around the nails
- If the skin around the nail has broken
- A lot of pain
Whitening Nails:
Whitening toothpaste can do a quick fix:
Apply a layer of whitening toothpaste after you have removed your nail polish. Apply your acrylic nails only after completing this step. Ensure that the toothpaste reaches your nails underneath. You can do this with the help of a nail brush.
If you want even whiter nails, repeat this process or let a toothpaste coat stay on your nails for at least 5 to 10 minutes.
You can use lemon juice and baking soda paste:
Make a paste-like consistency by using lemon juice and baking soda. Gently scrub this paste onto your natural nails and wash it off after the even application. If you want more white nails, then again repeat this process.
Dip your fingernails in water and white vinegar:
Take around 1 tablespoon of white vinegar in a bowl of water. Now soak your fingernails in this bowl for almost 5 minutes. Wash your hands thoroughly with clean water after 5 minutes.
Take a mixture of hydrogen peroxide with water:
Mix 3 parts of hydrogen peroxide and 1 part of water together. Keep your nails soaked in his solution for around 10 to 15 minutes before washing them off. You can even make a scrubbing paste to rub on your nails with baking soda and hydrogen peroxide combined.
Create a unique whitener with denture tablets:
Buy a packet of denture tablets from your nearest drug store and dissolve them in water. Dip your nails in this solution and keep it soaked for at least 5 minutes to see results.
Invest in a nail whitening product as an alternative to home remedies:
You can buy a nail whitening cream, scrub, pencil, or nail from your local nail salon or drug store. You can also purchase them online at reasonable prices. Barielle Nail Whitener is a good nail whitening product to buy online.
Put a base coat for prevention:
The best way to keep your nails white is not to save them from getting yellow beforehand. Invest in a good-quality nail polish base coat. You can buy it from any nail salon or drug store nearby.
If you are looking for a good quality base coat online, then OPI Nail Polish Top Coat is an excellent option to choose. Before applying your nail polish, apply this base coat and let it completely dry out.
Keeping Nails Clean:
Put on gloves while doing household chores or bathing:
This one simple step will protect your nails from getting dirty underneath. Your hands will also stay dry; thus, there will be very few chances of growing fungus. You can invest in good quality latex or rubber gloves like SteadMax 3 Medium Pairs Yellow Cleaning Dish Gloves.
Book an appointment for nail touch-ups every 2 to 3 weeks in a good nail salon:
You will start to notice gaps between your natural nails and your acrylic nails after a period of some time. If you don’t, go for timely fill-ins of these gaps; you are yourself inviting infections.
Book an appointment with your nail technician and they will fix the loose nails and also fill in your nail gaps.
Every 3 months, get a nail replacement:
The older your acrylic nails will get, the more dirt and germs they will start to attract. So it is best to get new acrylic nails after 3 months to eliminate the chances of them getting dirty underneath and thus catching infections.
Just keep one thing in mind: give your natural nails some rest for at least a month before you go for the new acrylic nail set.
Ensure your nail salon uses sterilized equipment in the application procedure:
Sterilizing is the most effective way to kill all sorts of dirt, bacteria, and funguses present in nail equipment. Ensure your nail technician sterilizes all the nail equipment before using them on your nails. A nail file should always be brand new as it cannot be sanitized.
Stay away from those nail salons that do not give importance to sanitization and hygiene in their work culture.
FAQs
What is the white stuff under my acrylic nails?
If you see any white stuff under your acrylics, it might indicate an underlying infection that requires immediate attention. You can try out certain home remedies; if they don’t work, you need to see a doctor immediately.
What does putting toothpaste on nails do?
Applying toothpaste to your nails can give you whiter and prettier-looking nails and nail tips. It is an effective home remedy for skin whitening.
Why is my nail black under my acrylic?
There are several reasons for the black stuff you see under your nails. One can be dirt. If you have been working in a lot of soil or dirt, then this can get gathered underneath your acrylic nails, making them appear black.
The second reason can be a fungal infection causing discoloration of the nails. If this discoloration is bothering you, then it is best to take your doctor for advice immediately.
Can mold grow under acrylic nails?
If bacteria get a perfect environment under your nails to grow, like if moisture is trapped under your nails, then mold might start to grow. They look like dark green or black spots on the nails. Molds can occur because of your nail salon’s bad tech hygiene or incorrect acrylic application.