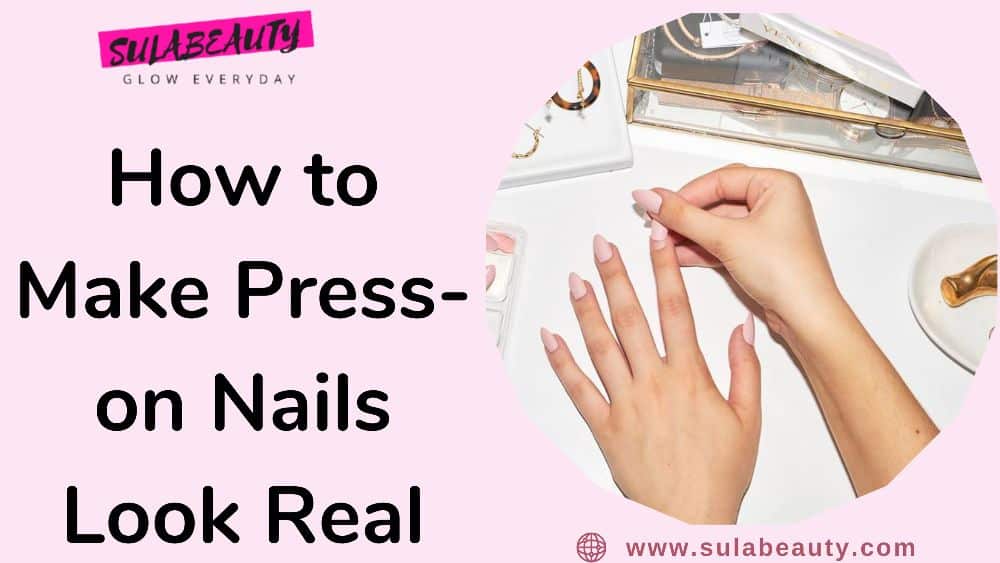
Press-on nails are loved by many for their cost effectiveness and convenience to use. Even though it may seem extremely easy to apply press-on nails, many a time, we end up with not so good looking nails.
We must take care of certain things to make press-on nails look like a salon-based gel manicure. And this blog post will guide you through all measures that may help you achieve a natural look with your press-on nails.
So, read on for more details.
How to Make Press-On Nails Look Like the Real Thing
You are just a few steps away from attaining a natural look with your press-on nails. Missing any details in the application process may make your false nails look unpleasant or artificial.
So, let’s find out the areas that need your utmost focus for a flawless look:
Pick The Right Size Nails
The press-on nail size can make or break the entire look. Hence, it is essential to pick the correct size. The size of a press-on is very prominent on the tip of your finger. And hence, it majorly impacts the entire look of your manicure.
To pick the right size, you may use a measurement tape and place it over each nail and measure the lines on the centimeter side. They are usually measured in a millimeter unit. As all the nails vary in size,
You should review and note the measurement for each fingernail to get a suitable-sized press ons.
Few brands also offer press-on nail kits in small, medium, and large sizes. So, before directly applying them, place all the fake nails over your natural nails to confirm if they are suitable and fit you well.
A single size up or down may cause irritation on your skin, and they will come off early, apart from giving an artificial look.
It is also vital to pick a suitable shape of the artificial nail that seems relatively close to the shape of your own nails. An entirely new or contrasting shape to your original nails may also cause the press-ons to look fake. We definitely don’t want that. So, pick wisely.
Prep Your Press-On Nails
Just like your natural nails, you may also tweak the shape, length, and size of your fake nails using a nail file. As every natural nail is different from one another, you may file them to fit your nail beds accordingly.
For some events, you may wish to use shorter nails. However, in some, you may want them to be extended. Shorter nails look decent and convenient in carrying out the chores. However, longer nails give you a more elite and fancy look.
Likewise, your choice of nail shape may also change depending upon the requirement. However, it is suggested to use a nail shape that resembles your real nails. It helps you keep the look more authentic.
Note: Ensure to prep and file them beforehand. If you file them post application, it may cause loosening the bond between the nails, making them pop out early. Usually, they last for at least 2 weeks.
Prep Your Natural Nails
Our body produces several natural oils to keep skin hydrated and healthy. Similar is the case with our nails. However, these oils must be removed from your nails so that the press-ons adhere better and last longer.
So, prep your nails to allow clean and oil-free nail beds to the false nails. You must soak your hands or at least tips in warm, soapy water for 10-15 minutes.
Once dried, wipe them with alcohol-soaked pads, which are available in the nail kits. The kit includes all the tools required for a press-on manicure.
Once done, trim your nails short to keep the application hassle-free. File them, and remove any pre-applied nail polish with a nail polish remover.
Now, push the cuticles back using a cuticle pusher to allow ample surface area to apply the fake nail. Also, remove any excess cuticles and buff the nail bed so the press-on nails can comfortably adhere.
Add the Nail Glue
Now, place a drop of nail glue at the bottom of your false nail’s backside. And another at the tip of your natural nail. Spread the glue using a brush on both real and artificial nails.
It must be done with one nail at a time to keep the glue from drying before even applying it.
To make the bond more potent, apply a thin layer of base coat on your real nails before applying the nail glue. The base coat ensures a stronger bond between the nails and also keeps your naturals from becoming brittle nails.
Tip: Avoid the adhesive from spreading on your skin around the nails to prevent irritation or redness.
Apply the Press on Nails
Once the glue has been spread, carefully place the false nail over your nail, starting from the cuticle area to the tips. Now, press the nail with your finger for around 30-60 seconds. And repeat the same for the entire nail set.
Allow 2-3 hours for the nails to dry, bond, and cure over the natural nails. During this timeframe, prevent your nails from being exposed to water, especially during activities like washing dishes or taking a shower.
A few good-quality nail set links are added below for your reference. Go check them out:
- KISS Jelly Fantasy On-Trend Translucent Sculpted Nails
- 24 Pcs Coffin Press on Nails Long, Sunjasmine Fake Nails Glue on Nails
Final Thought
Application of press-ons may seem to be an easy process. However, the output either turns out looking absolutely natural or tacky. There’s no in-between.
The key factors are to decide upon a natural nail shape and a suitable length of the acrylic nails. If the nails are plain, you may add your style by applying gel polish or regular nail paint and making nail art designs.
So, to ensure they look fresh, just like a manicure from a nail salon, follow all the tips mentioned above. And you’re good to flaunt your new press-on nails look.