Last Updated on August 26, 2022 by SulaBeauty Staff
Doing your acrylic nails at home can be a great cost and time saver for you.
Also, you will be aware of what quality products are being used on your nails.
But, what do you need to do acrylic nails at home? This blog is the solution to this question of yours.
Continue to read till the end to learn about the list of materials that you may require while doing your own acrylic nails at home.
What Do You Need for Acrylic Nails?
The list of all necessarily required materials is mentioned below :
1. Acid-free nail primer
2. Acrylic powder
3. Liquid monomer
4. Dappen dish
5. Nail brush
6. Nail file
7. Acetone
8. Lint-free wipes
9. Top coat nail polish
Optional materials that you may need are:
1. Powder-free gloves
2. Cuticle pusher
3. Cuticle oil
4. Soaking bowl
5. Nail Tips
List of tools that you may need:
1. Nail drill
2. Tip cutters
3. Nail scissors
The uses of every above-mentioned acrylic nail supply, optional materials, and tools are as follows:-
1. Acid-free nail primer
It is important to prepare nails before applying the acrylic mix. Acid-free nail primer (also known as nail dehydrator) helps dehydrate nails and remove any excess oil or grease from them.
They also contain a formula that provides strength to your nails, prevents discoloration, and also increases nail durability when any acrylic supply is applied to them.
2. Acrylic powder
Acrylic powder is a powder-like substance that is used during an acrylic manicure.
It hardens up when mixed with an acrylic liquid (liquid monomer). They create a solid, long-lasting, and natural-like finish.
3. Liquid monomer
Liquid monomer or acrylic liquid is mixed with acrylic powder to form a gel-like mixture which is then applied to your nails.
Remember that acrylic liquid has a bad odor, so make sure you are sitting in a well-ventilated area of your house.
4. Dappen dish
A dappen dish or acrylic dish is a small and less deep glass container that is used to store either acrylic liquid or nail polish remover.
The manicure brush is first dipped in the liquid acrylic present in this container and then into the acrylic powder to get a perfect acrylic bead for your acrylic nails.
5. Nail brush
An acrylic nail brush is another basic supply required for the acrylic nail application process.
It is used for applying the acrylic mixture to the nail surface, removing excess acrylic powder after drill, and sometimes applying cuticle oil.
The quality of the nail brush matters a lot. The acrylic nail brush hair must be compact and not ‘bushy’ or ‘scattered’.
6. Nail file
A nail file is a tool that is used during the acrylic nail application process. It is used to file and shape the edges of your acrylic nail. They are available in various materials such as ceramic, glass, crystal, etc.
7. Acetone
Acetone is used to clean acrylic nail supplies such as acrylic brushes, nail drills, buffing blocks, nail files, etc.
It is also used to remove any excess product that may stick to your skin during the process.
Also, pure acetone is used during the acrylic nail removal process.
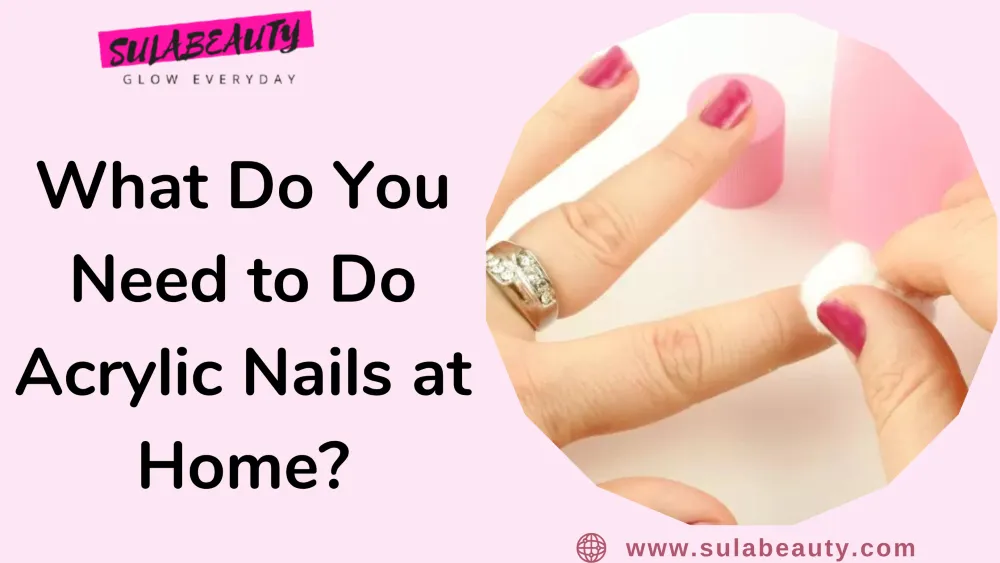
8. Lint-free wipes
You can apply acetone on a cotton swab to clean the corners of your nails or the cuticle area. But they may leave a few lint behind that will give an untidy look to your acrylic nails.
Opting for lint-free wipes is a great choice for cleaning any unwanted material around your fingernail while applying acrylic nails.
It prevents lint (unwanted fiber) from getting stuck in and around your acrylics
9. Top-coat nail polish
Top-coat nail polish is applied after the acrylic nails are completely dry.
A good quality top coat nail polish not only provides shine to your nails but also protects them from the external environment which can harm your manicure.
It protects the nail color from fading or chipping.
Optional Supply List for Acrylic Nails
1. Powder-free gloves
These gloves are also known as salon gloves. They act as a barrier and prevent any sort of contamination from the client’s nails to yours and vice versa.
Even if you are doing your own nails, you must wear these gloves to protect your skin from drying out while using chemical-based acrylic products.
They are comfortable and super flexible that you may not feel any problem while you apply acrylic nails to your hands.
While doing nails, you should always use powder-free and non-latex gloves.
2. Cuticle pusher
A cuticle pusher gives your nails a salon-like finish at home.
Hold the cuticle pusher at a 45-degree angle and slightly push back the cuticles.
This will also help remove any dead skin in the cuticle area.
Pushing back cuticles with the help of a cuticle pusher also helps spread the acrylics to a longer nail surface.
The dead skin is then collected at the nail end and can be removed by using cuticle nippers (specially designed to cut the unwanted cuticle skin).
3. Cuticle oil
Cuticle oils are available in a variety of fragrances and are used to moisturize the nails and the cuticle area.
It is important when you are using a cuticle pusher to push back the cuticles to prevent any damage and soften the surrounding skin.
4. Soaking bowl
This bowl is either made up of plastic or glass.
As the name suggests, this bowl is used to soak off acrylic nails in pure acetone during removal.
Another removal process is also there, which requires a soaking bowl. You may also soak a cotton ball in pure acetone, and keep them on each acrylic nail. Wrap your nails using foil.
5. Nail Tips
Acrylic nail tips are used when you want to give your nails the desired length.
These nail tips are made up of thin and flexible plastic and are available in different shapes and sizes.
After you are done with your nail prep, apply nail glue to them and paste nail tips to them.
Tools for Acrylic nails
1. Nail drill
Nail drills are used to remove any old acrylic manicure.
Before soaking old acrylics in pure acetone or placing a cotton ball soaked in acetone, use a nail drill so that the upper layer of acrylic nails can be removed and acetone can reach the natural nail more effectively.
It is also used to remove the upper layer of the acrylic mixture to get the desired thickness.
2. Tip Cutters
Tip cutters are used to cut off the excess nail tip to reach the desired length.
You can also use them to cut the artificial nails according to a pointed nail shape that you may want (such as a coffin).
In short, you can use it to cut, carve or polish your nail art.
3. Nail Scissors
These nail scissors are designed slightly differently from everyday nail scissors.
They are designed in a way to provide a perfect shape to your natural nails without causing any damage to your nail plate, nail bed, or skin.
These scissors have a slight curve at the end, that provides the perfect shape.
Are Acrylic Nails Hard to Do at Home?
Acrylic nails are not hard to do at home, but this process can be a bit unhygienic and time-consuming if you are not used to it. If you follow our guide about doing acrylic nails at home, you can do it on your own.
But, on the other hand, they are one of the most picked types of manicures.
Doing acrylics at home just requires a few supplies that you may either buy separately from a beauty supply store nearby or you may get an acrylic kit (available at both online and offline stores).
Make sure your hands and nails are clean so that you can do a nail prep before applying acrylic nails at home.
Do spread the acrylic mix on the entire nail, starting from the center, to the cuticle area, till the nail tips or nail forms (whatever you wish to use).
Conclusion
All the required supplies are mentioned in the above article. But if you find any alternative or any other supply, then go for it!
On average, professional nail techs prefer that you let your acrylic dry naturally. But you may use a UV lamp or LED light to fasten up the drying process.
Try to use the cleanest supplies while doing acrylics on your own nails and also avoid exposing your newly done manicure to water for at least 24 hours.
Both these steps will add to the life of your acrylics. Also, you can use both, acrylic liquid and acetone for cleaning your acrylic nail supplies.
Do remember that acetone drys out the bristles of your acrylic brush after some time.